
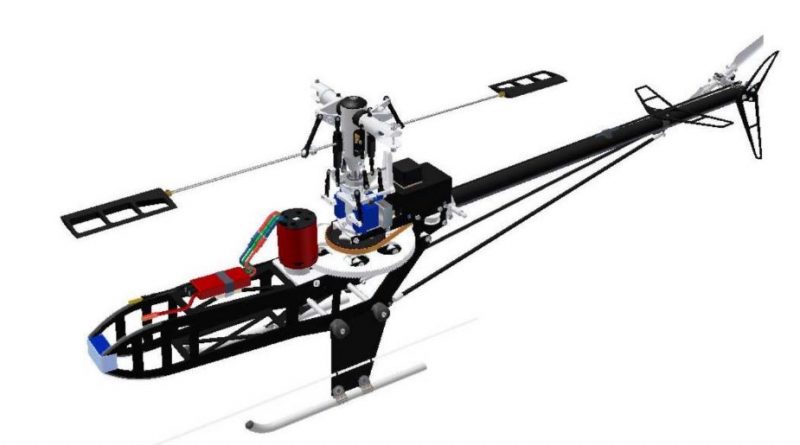
Turning the Three Dee MPe Old School
The Three Dee MPe (electric) was one of the first 10s (37 Volt) helicopters which had a modular design. This was Henseleit’s first electric production helicopter since he thought that the methanol engine would loose in the market over the electric powered helicopter. Instead of only building an electric version, the MP had a modular design which supported the 10s Lipo version but could also easily be replaced (within 15 minutes) by a modular sub frame which could hold a 7,5cc or 15cc methanol engine. My Three Dee MP got some updates and improvements over the year, the biggest improvement being the flybarless rotorhead with Vstabi system.
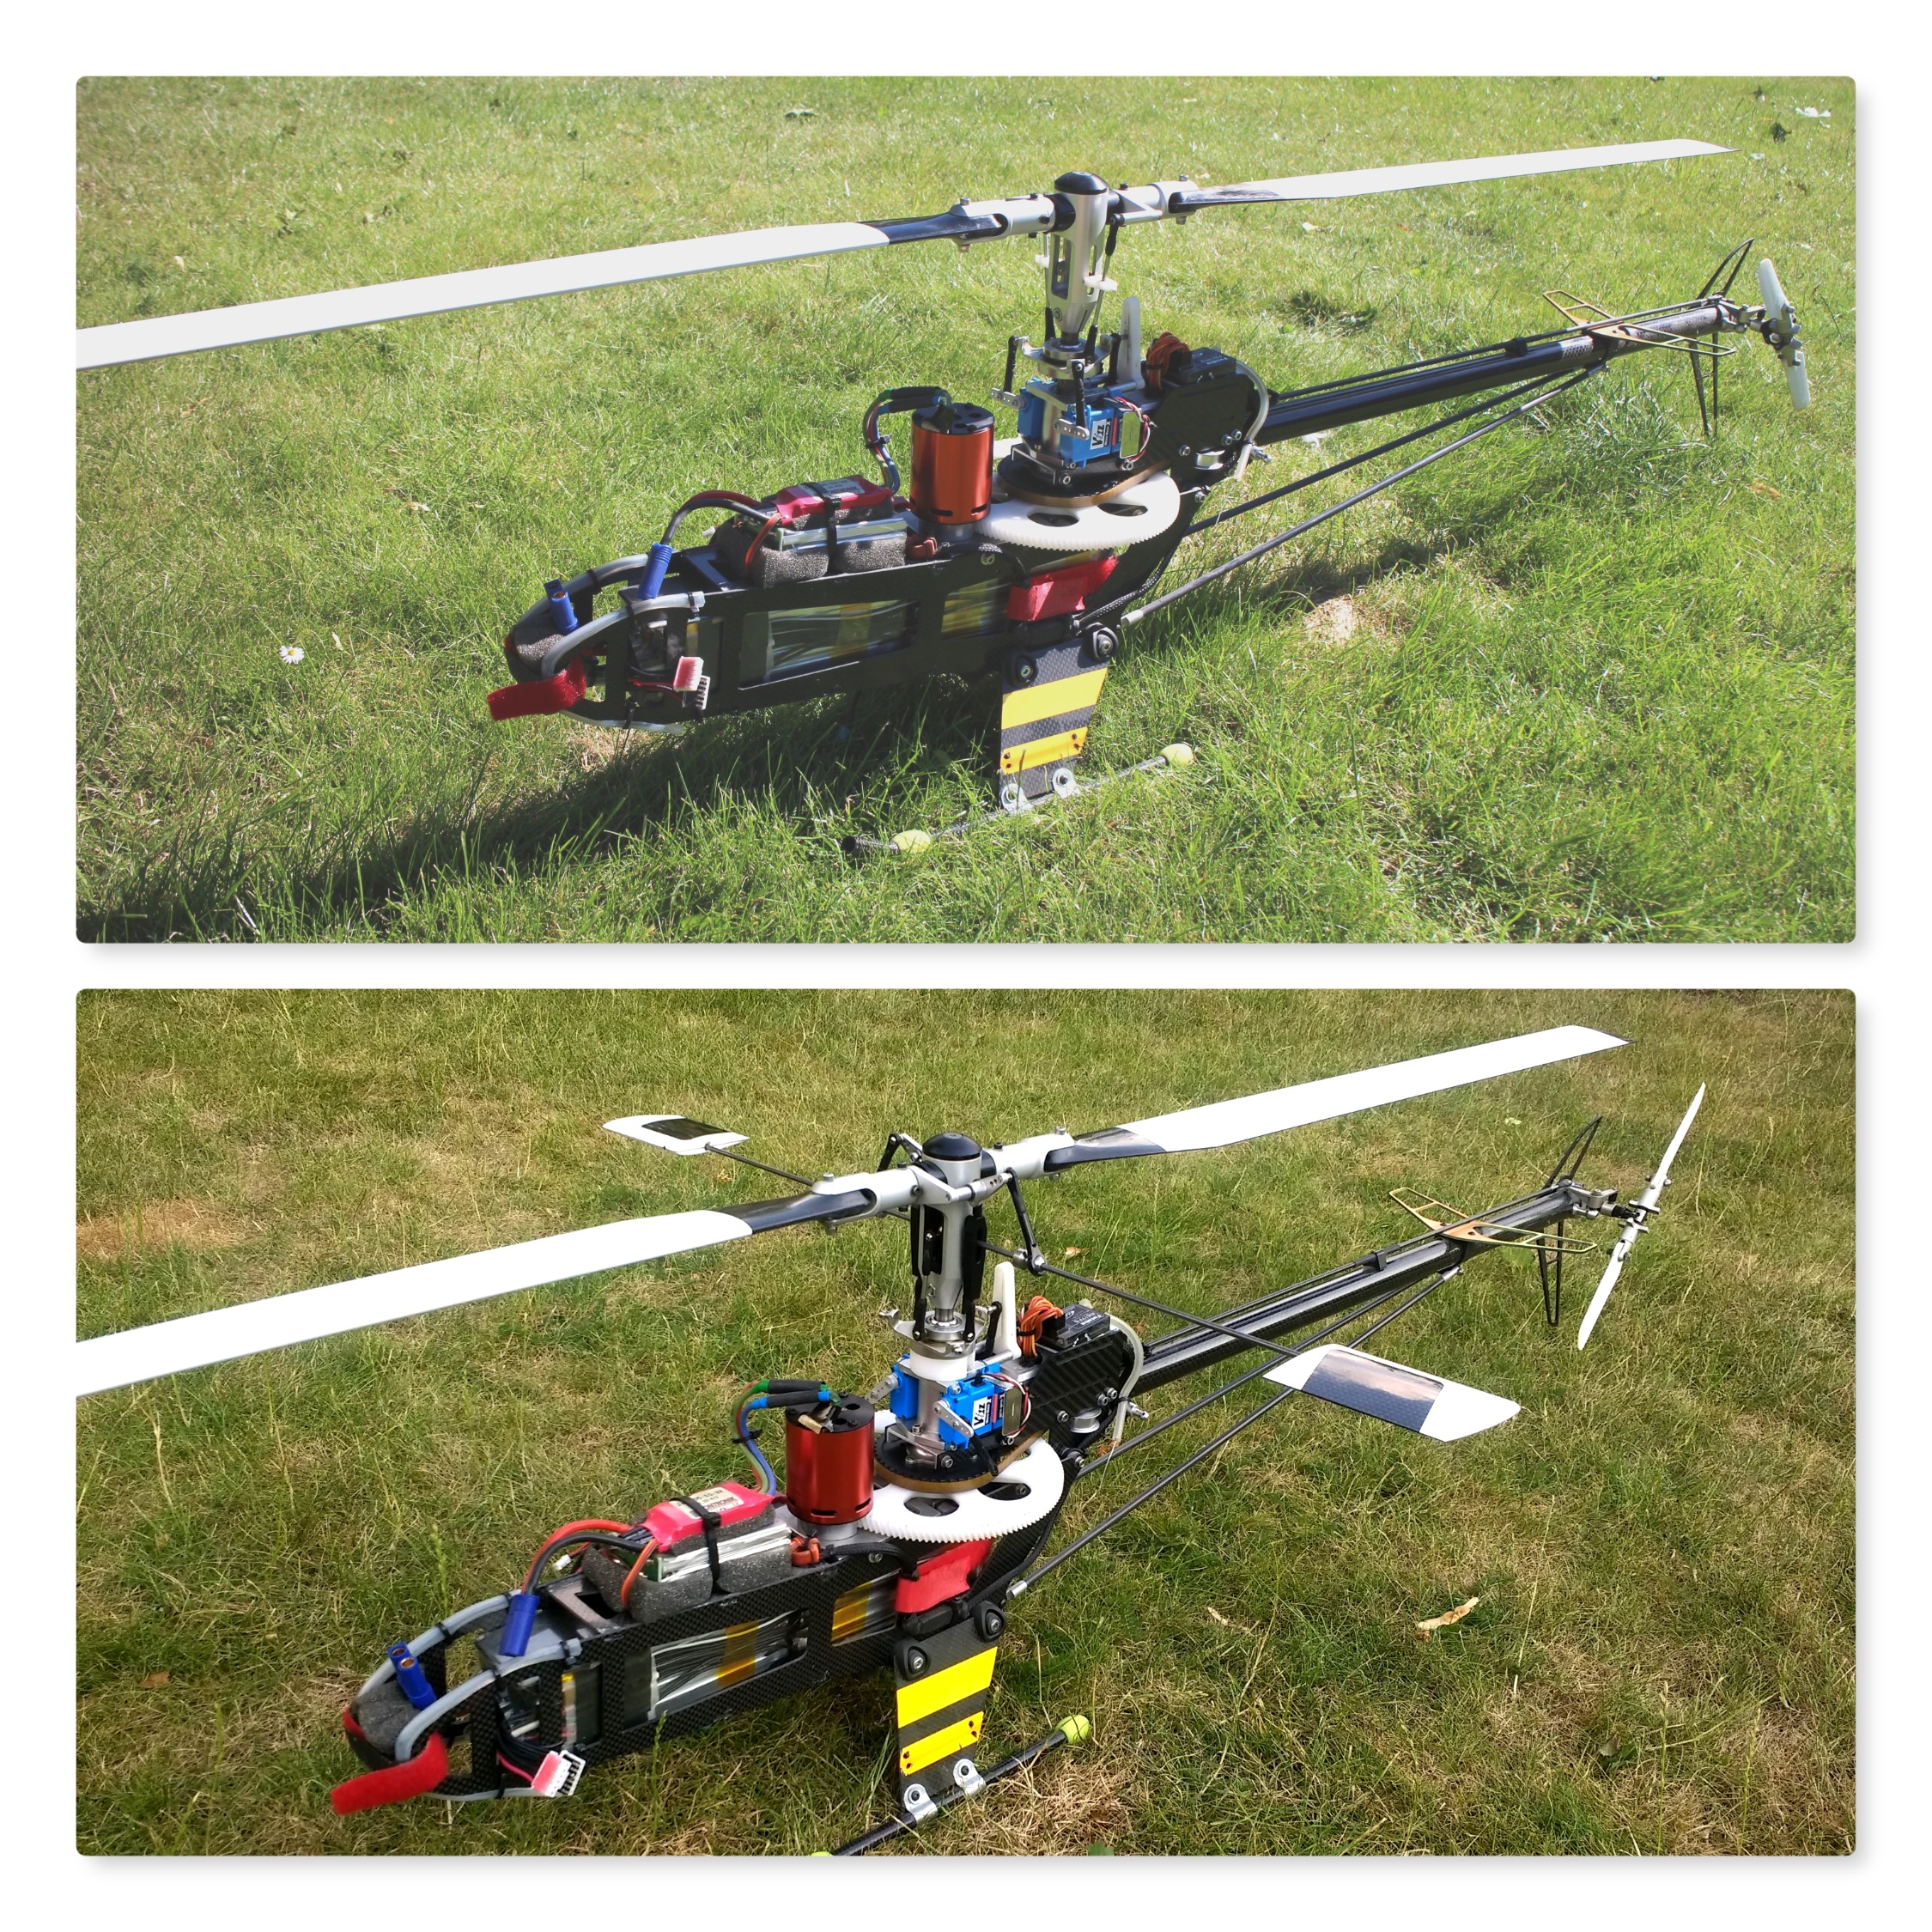
The MP was designed with a FMS (Flybar Moveable System), an advanced Bell-Hiller rotor head. But the new market of Flybarless / Rigid rotor head was born with the introduction of the Vstabi system. At that time – and still – I was so excited about this new technology that I modified my MP to have a Flybarless rotor head. This gave the helicopter:
- A new look
- More power
- More agility
- Longer flight time
- And was very nice to experiment with.
At that time the Vstabi system cost about 800 Euros (I had the old aluminium with RS232 interface)! I could fly, experiment and even more with this new technology.
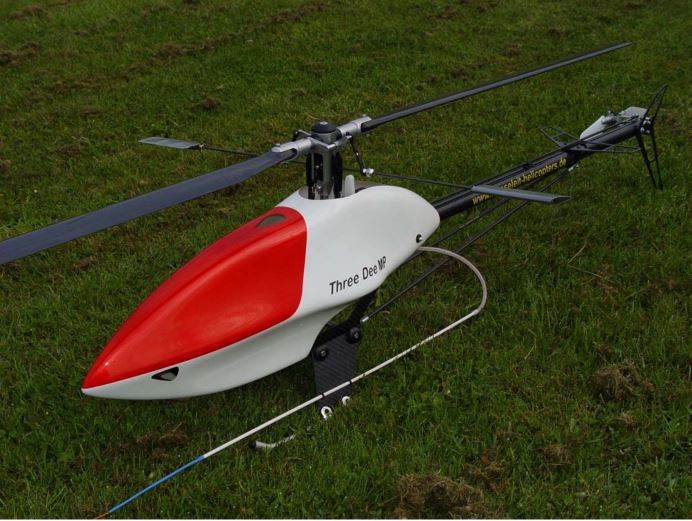
Now, more than a decade later, while the MP was standing for years on my shelf and I only flew this machine once or twice a year I got the need to make this machine original again. I don’t need the power for some fun flights, I just wanted to have it in its original state again.
Therefore I rebuilt the rotor back to it’s original FMS rotor head. To enjoy the old mechanical rotor head which also has its charms!
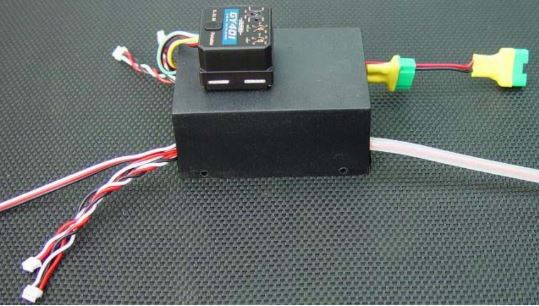
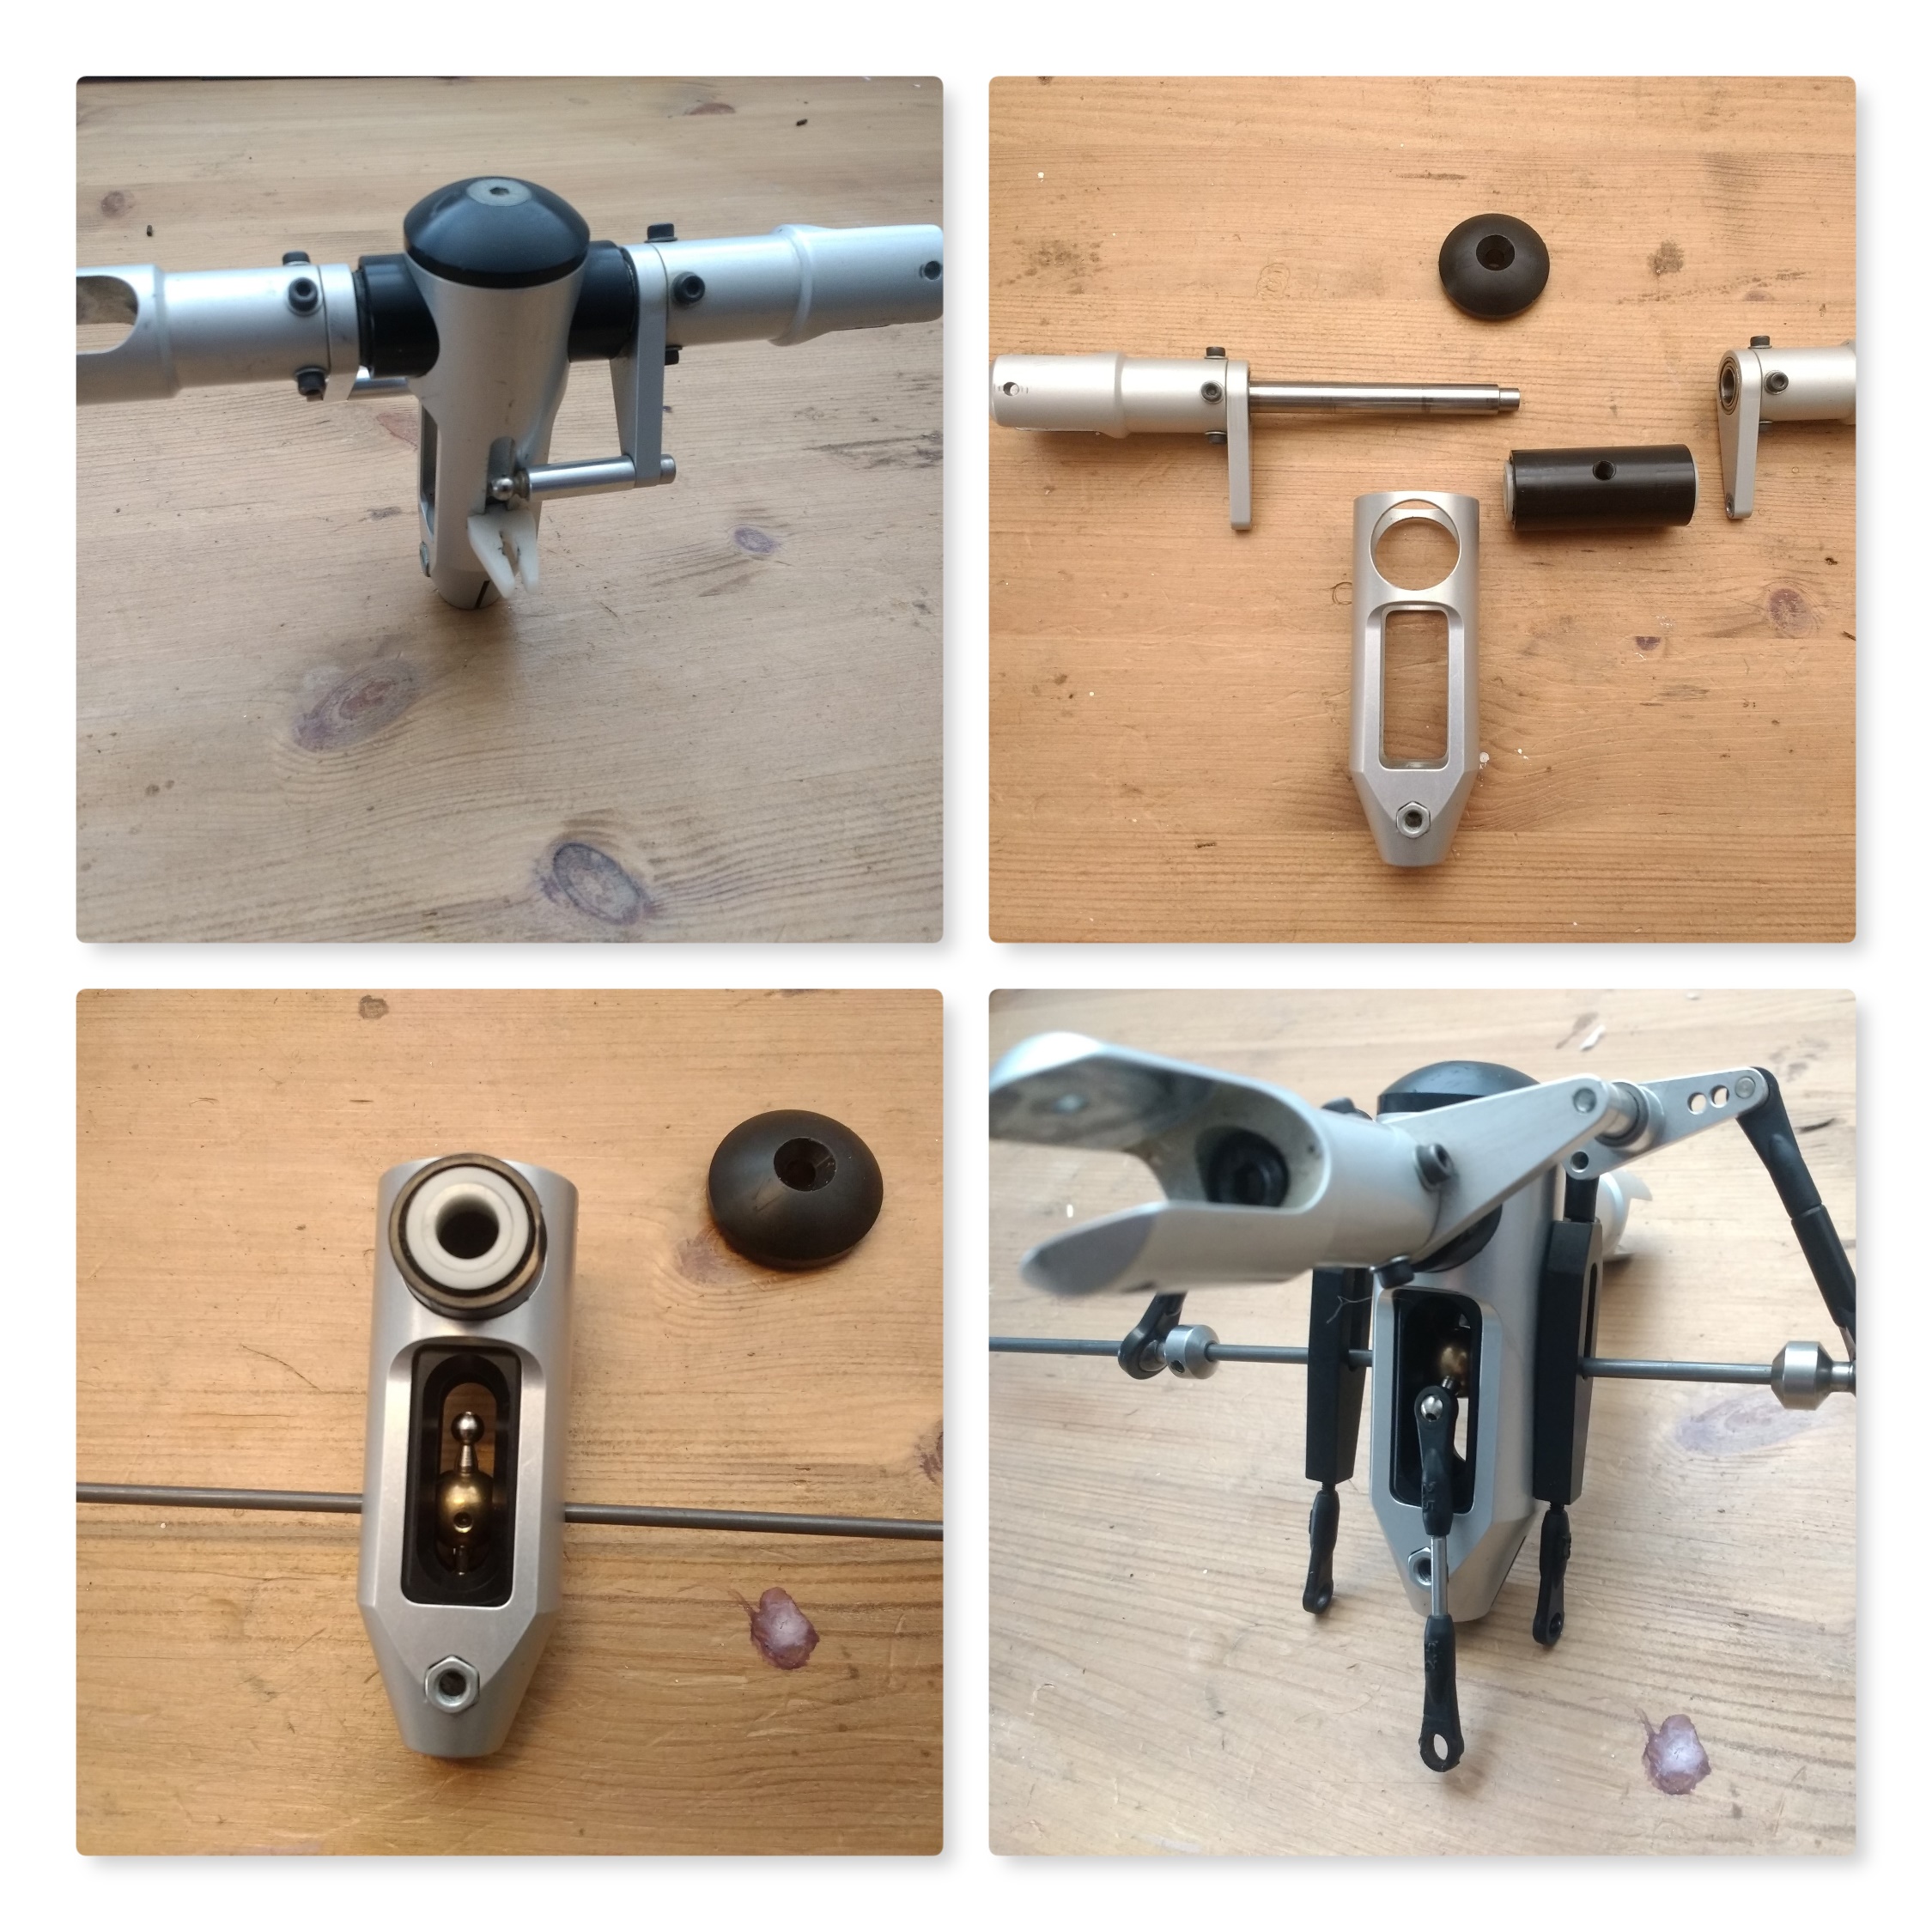 Rebuilding the rotor head or making it original again is a relative easy job. Before, all parts had to be taken out of the rotor head, whereas now the mechanical parts had to be put back in again. I had most parts still in stock and received some from friends. More important was to find a Futaba gy401 gyro again. Because the Vstabi did not only stabilize the rotor head but also the tail rotor.
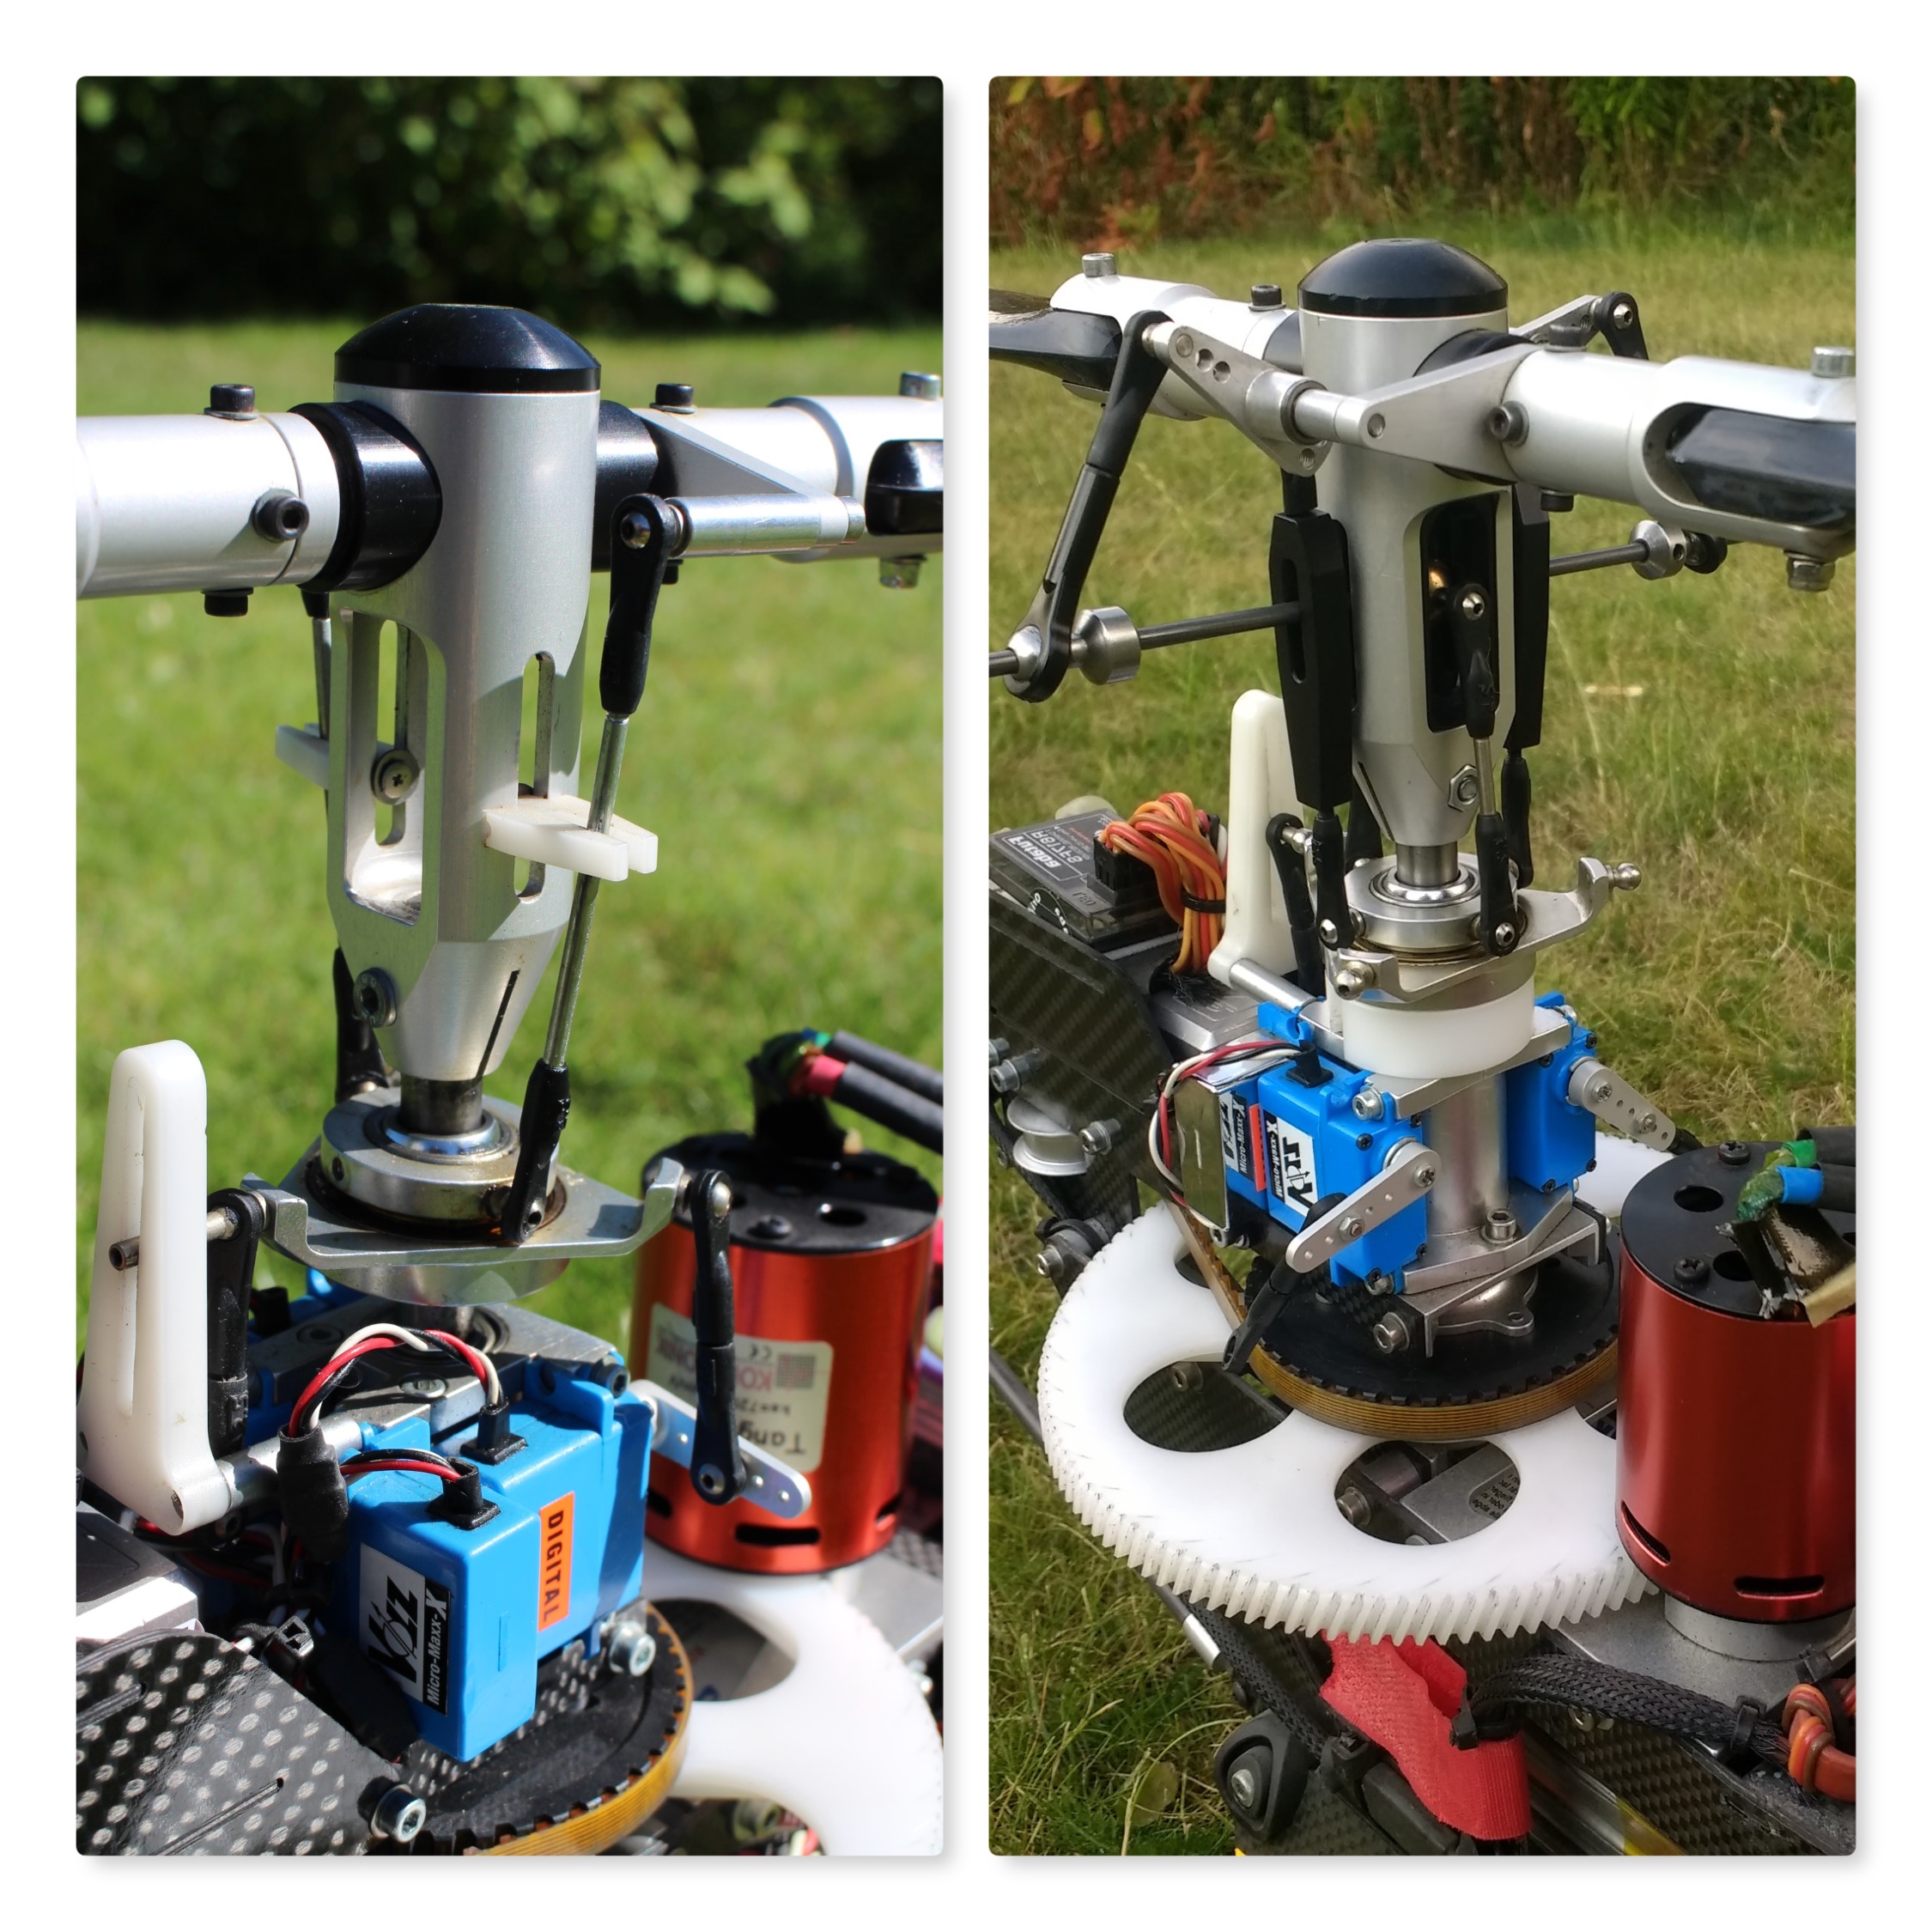
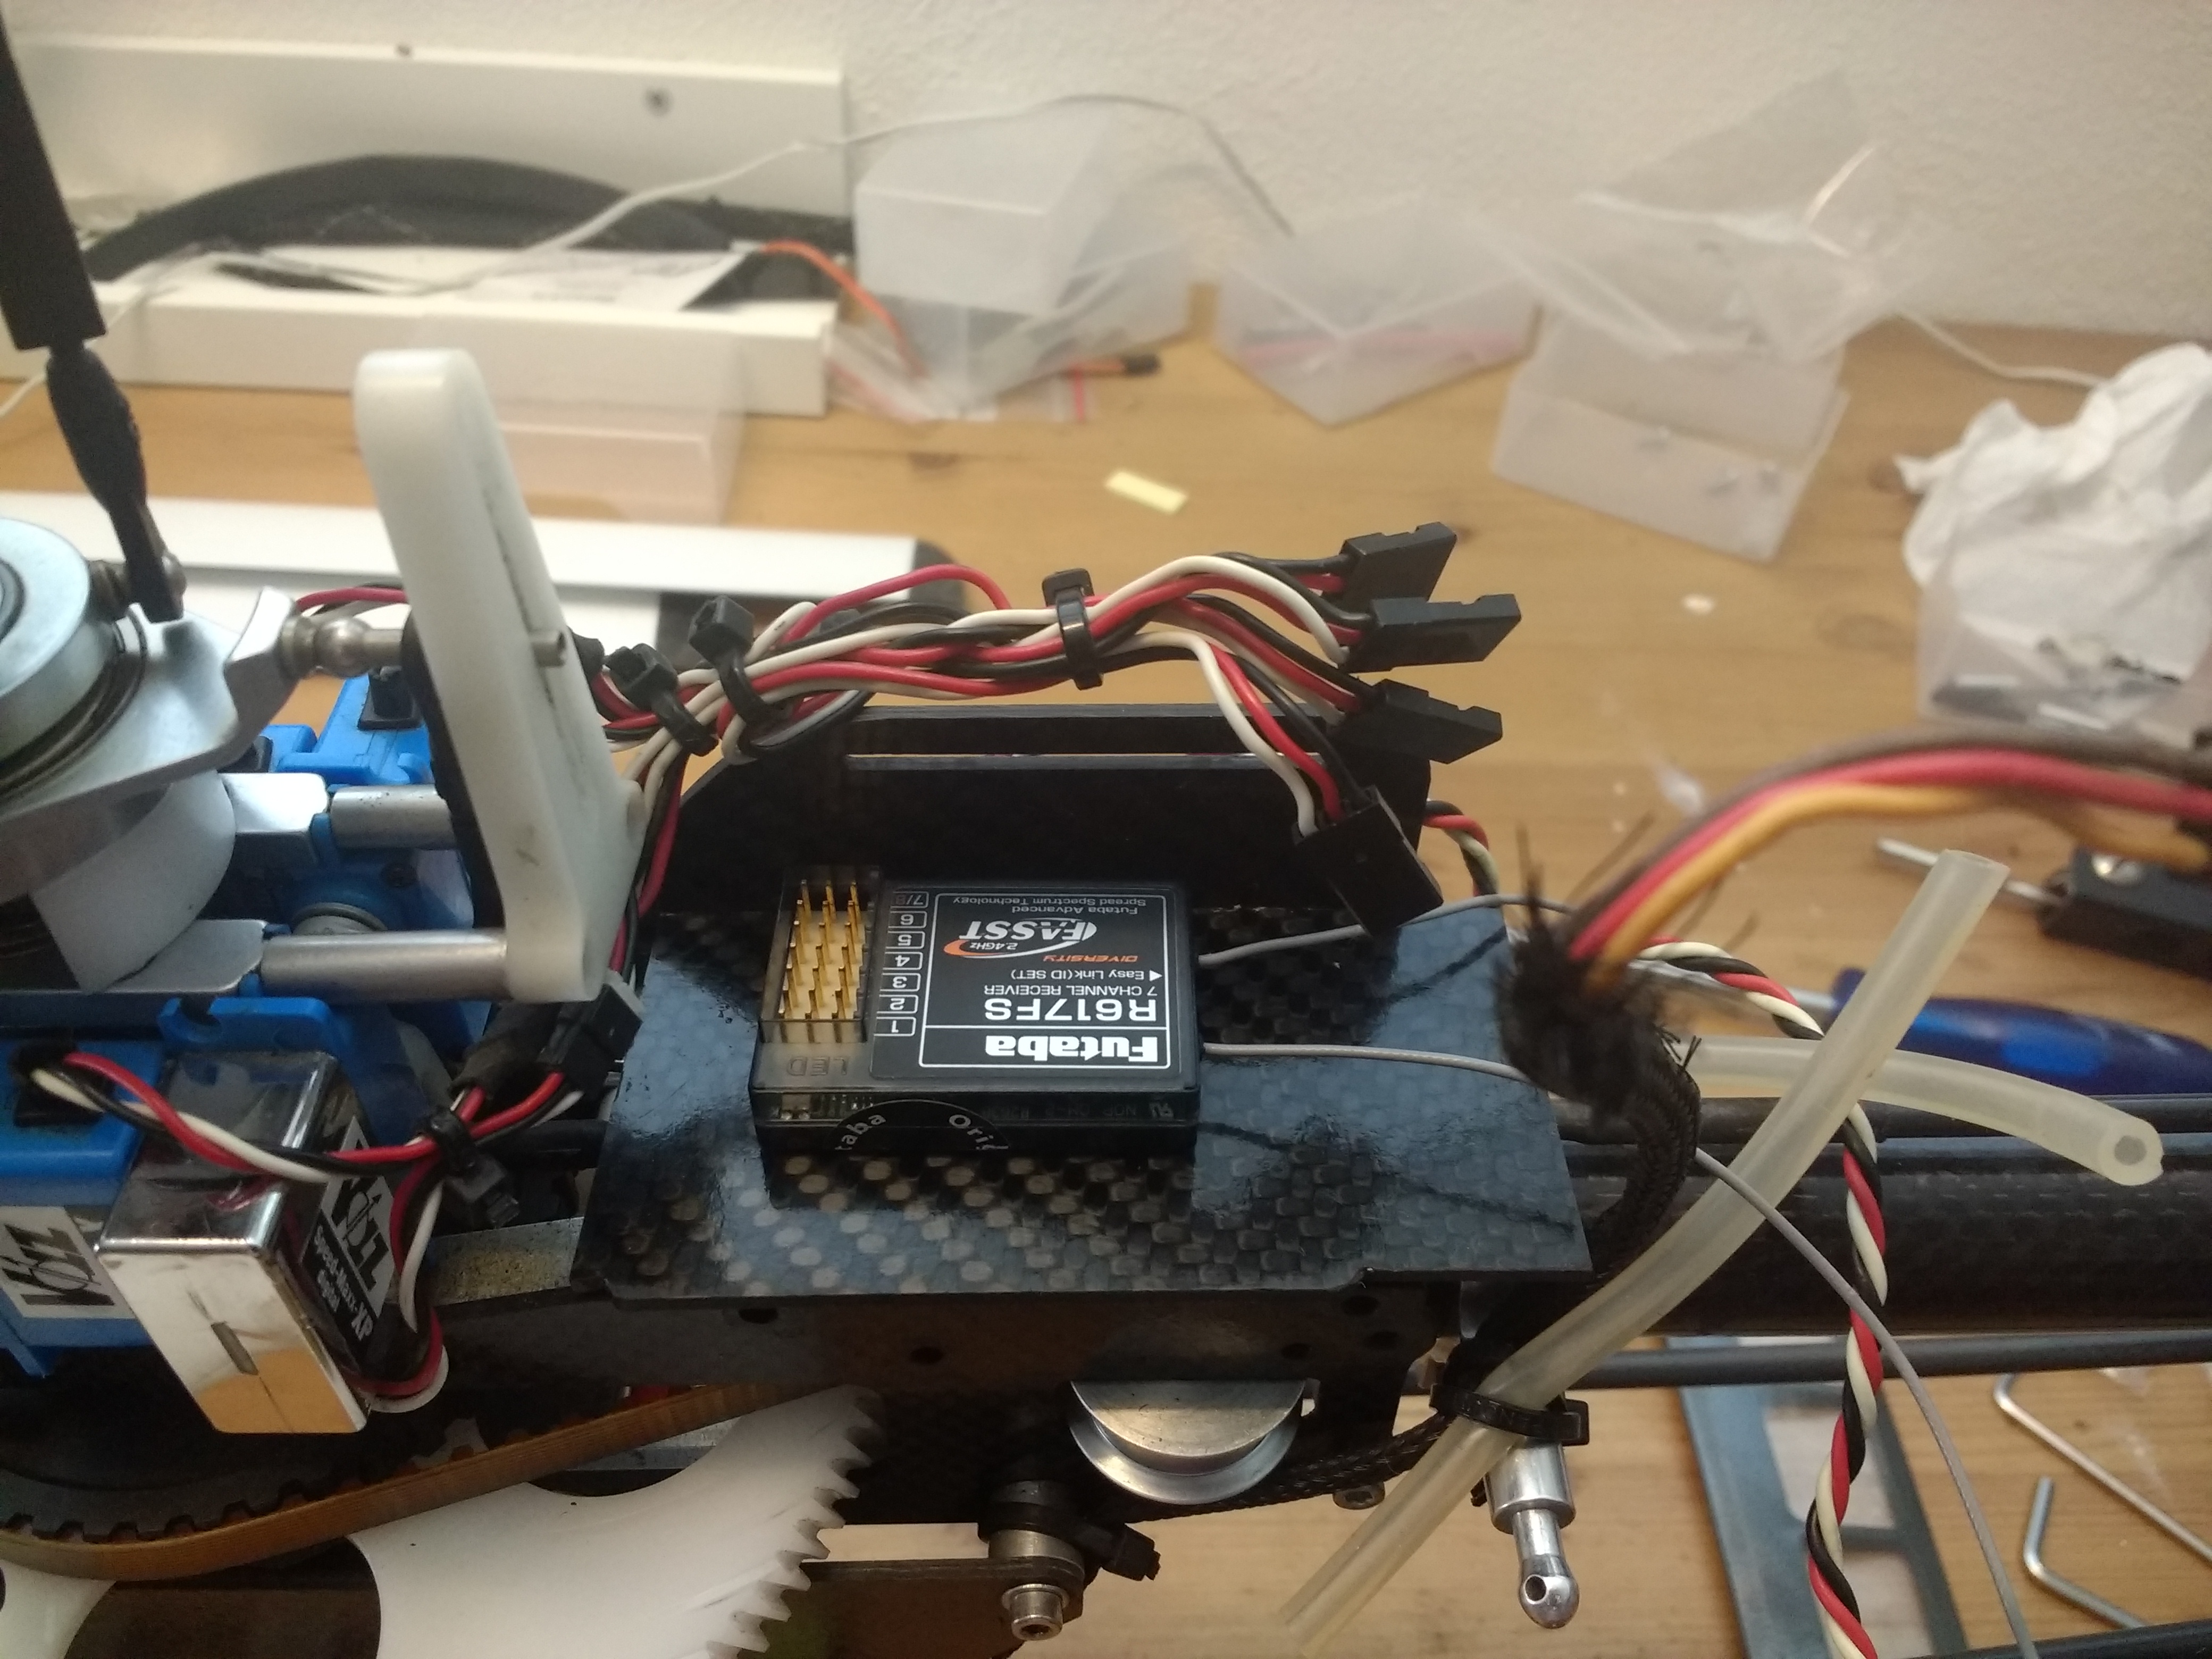
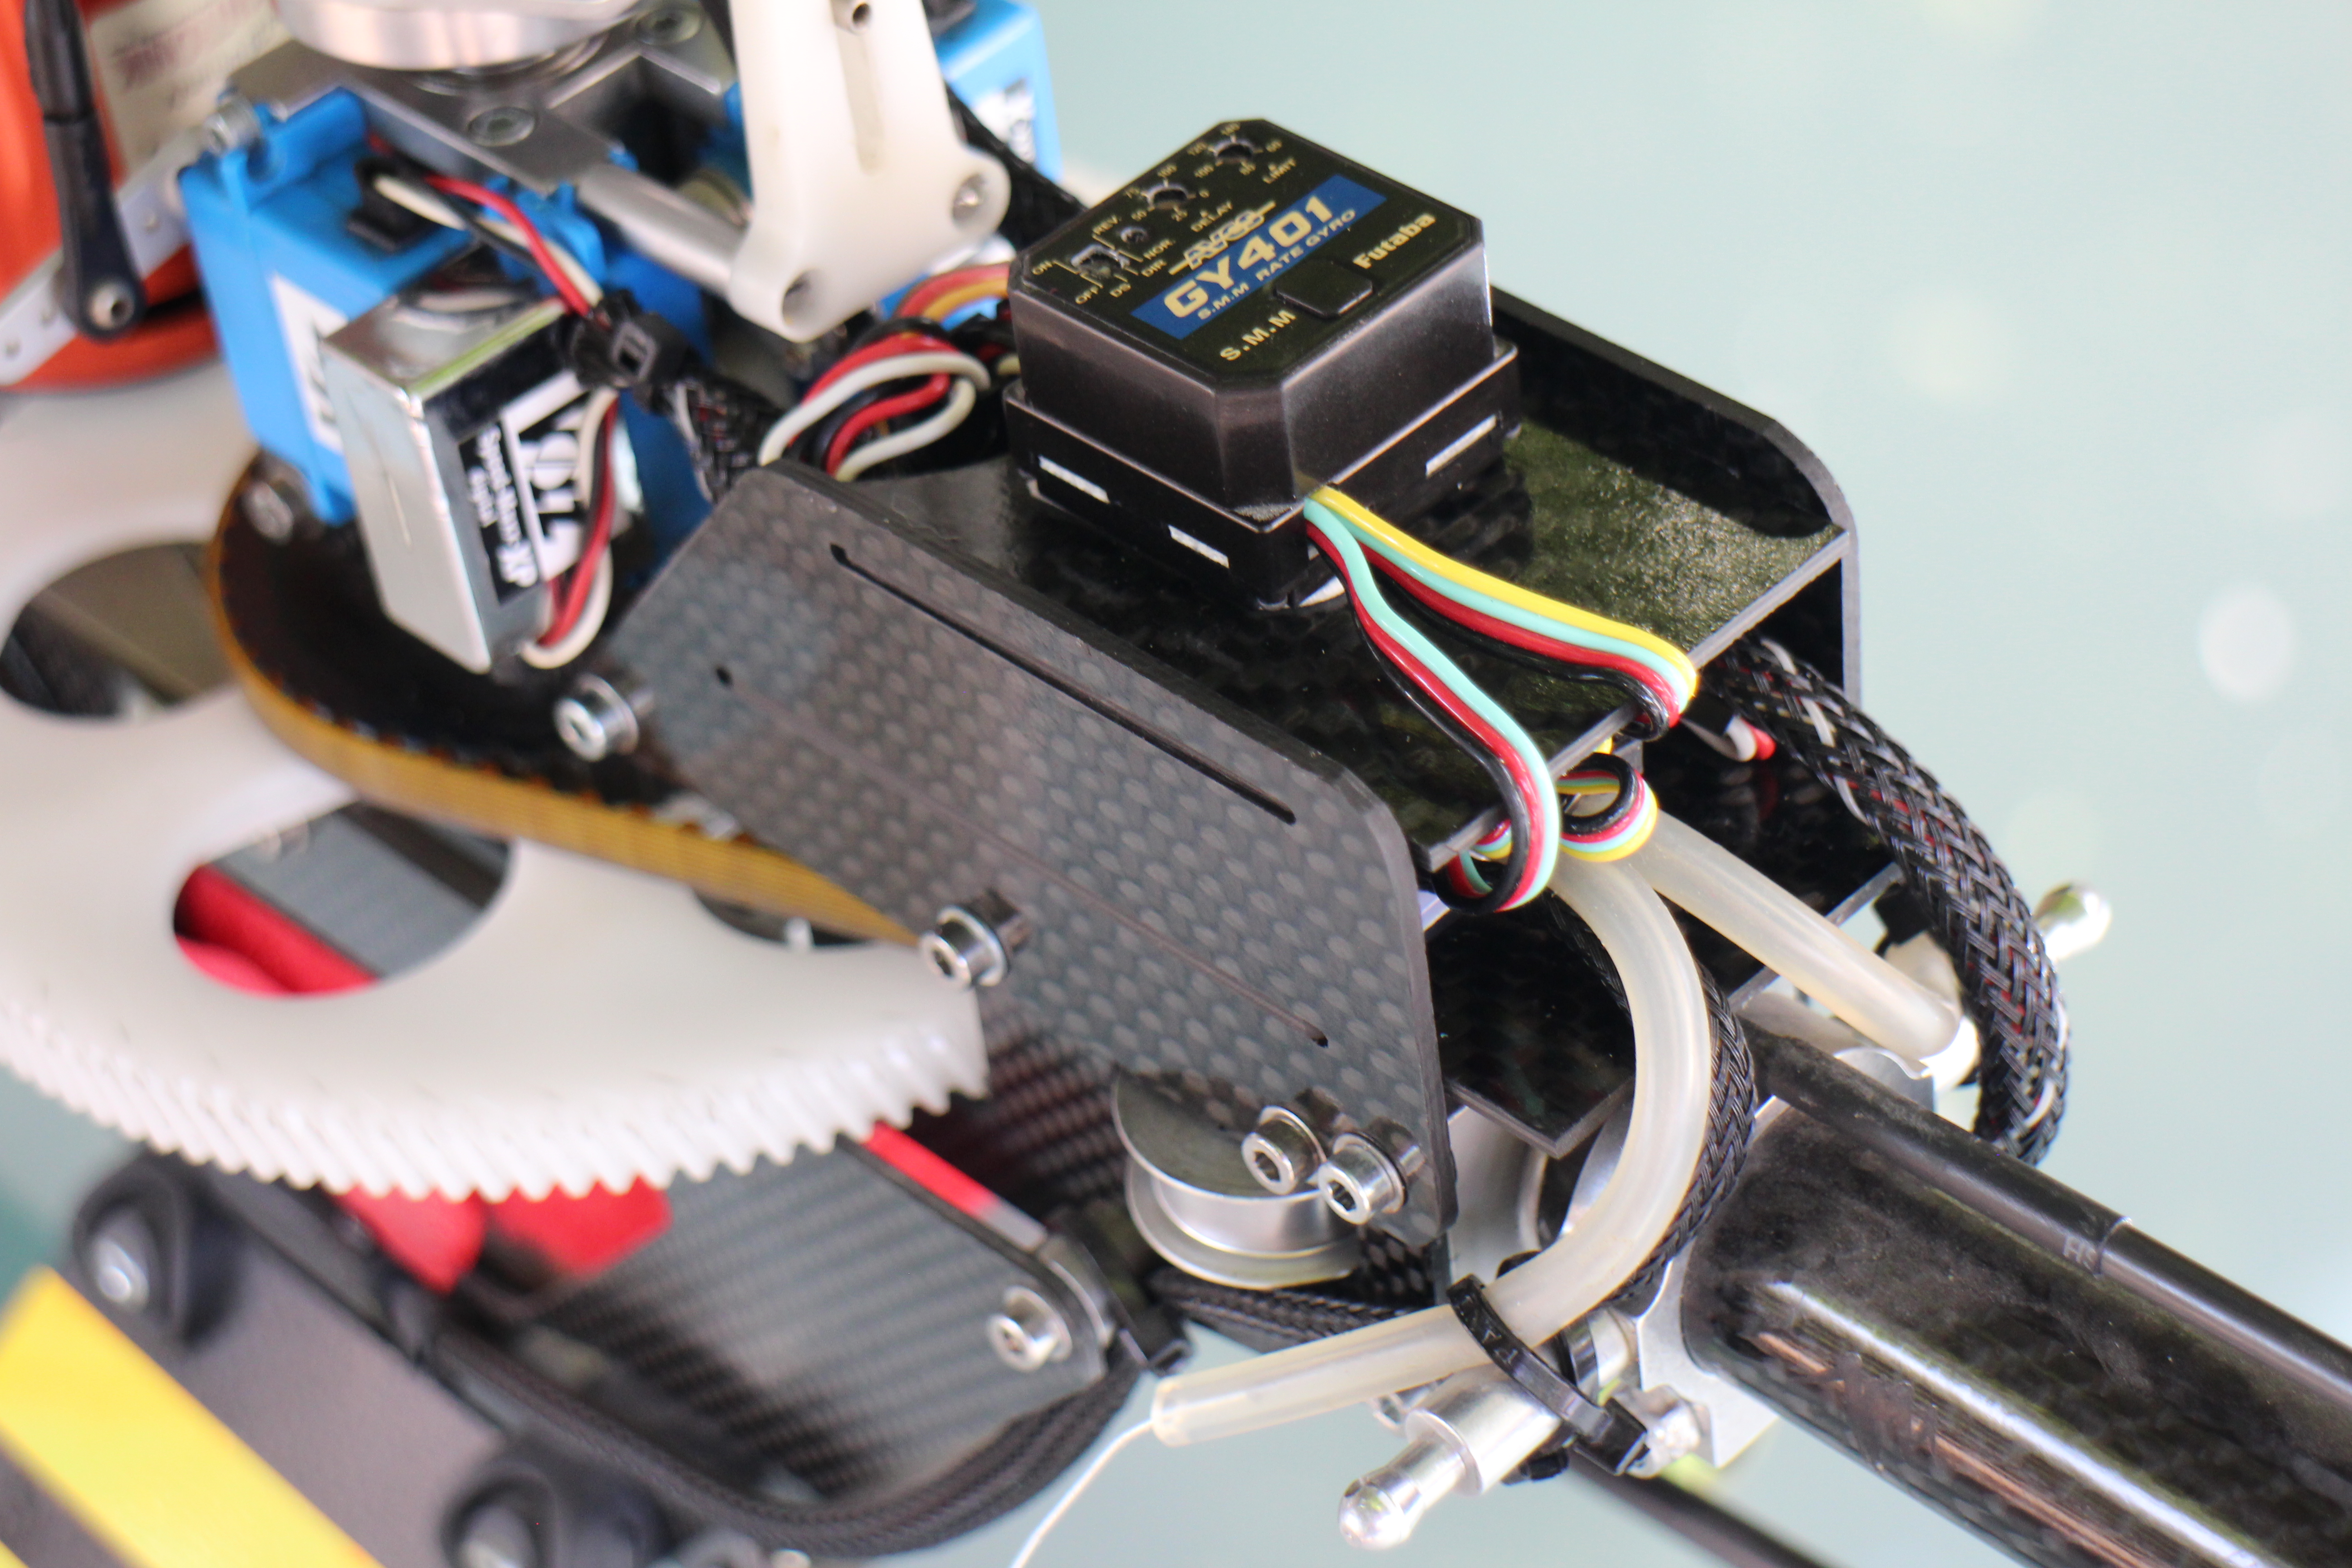
The rotor head was fully assembled again, now it was time to connect all the servo’s back to the receiver and install the gy401. The carbon receiver and gyro mount is not original. Henseleit had a plastic box designed for that, but I stayed with my own design and used the fancy carbon mounting boards. This way the gyro is mounted on a much stiffer surface and the receiver is well protected.
The end result! A great and amazing machine which was a head of it’s time. Back in it’s original state. Oh before I forget. I didn’t put a 35mHz receiver in it, a still use the 2,4Ghz due to safety and readability.
