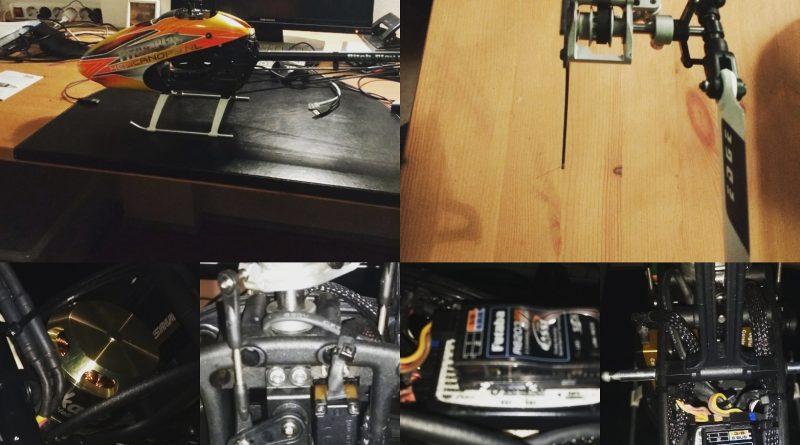
Rebuilding the Logo 400 SE (a.k.a. the submarine)
All components have arrived. The second hand logo 400, the Scorpion engine has been checked by eRCmarket (new bearings and checked on the wiring), new Hacker Speedcontroller X70 is on the way. Resume yes the logo 400 SE will surface again.

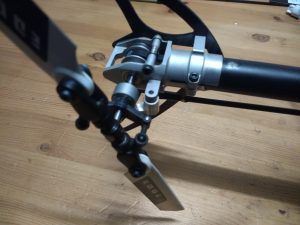
I decided to use my Logo 400 frame as a main frame and take all necessary parts from the secondhand logo. First of all, I put the tuned tail rotor on the Logo 400 SE, this aluminum tail rotor is better when compared to the standard plastic unit. When flying, I can notice less tolerance and better gliding of the tail pitch. All bearings got new fresh oil (dryfluid) to ensure smooth movements. The old grounding space on the tail boom is still there, but the aluminium tail case chassis does not need grounding anymore. And last but not least, some black permanent marker will fix the grey spot ;-).
Next step is to replace the servo’s from the old model to my Logo. By dismounting the servo’s the plastic mounting holes broke off. The plastic case got porous after some time which left me in a dilemma on how to mount the servo in the other helicopter. The old servo casings were still intact, I compared them and tried to refit the servo cover from the HS1250MG to the damaged HS1350. Luckily, they fit! The mounting is even better now!
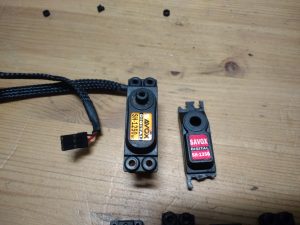
I took all the three covers off of the swash plate servo’s en remounted the old covers of the old servo’s. Now the Logo 400 SE has some black-labeled label of the servo’s. (the salt water made the sticker go off)..
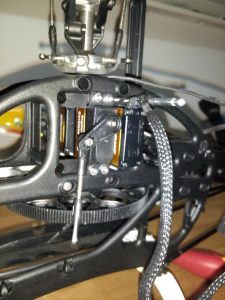
The rotor head with swash plate, leavers and main gear are switch 1 on 1 to the Logo 400 SE. All the bearings are inspected and new bearings are placed in the upper and lower bearing plate for the main shaft. The rotor head itself feels stable and the damping rings feel good when moving the blade grips. So I will not open the rotor head bearings for inspection, only if in a test-flight the helicopter wobbles then steering is not as attended I will check the rotor head bearings. But I think this should be fine, and final calibration of the rotor head (Vstabi) will show unexpected settings.
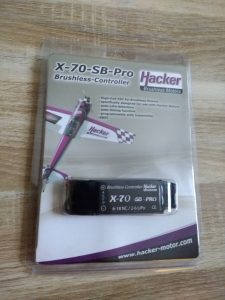
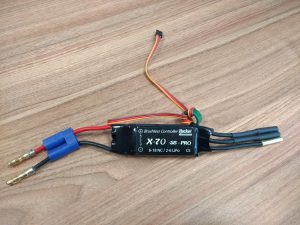
The new speed controller has arrived. There are newer and better speed controllers nowadays on the market. But the Hacker X70 SB-PRO works very smooth with the Vstabi govenor mode and external sensor. So I decided to stick with Speed controller and make Logo 400 original again.
First all the connectors have to be soldered to the speed controller. The battery connector are 5mm EC5 connectors and the connectors to the motor are standard 4mm gold connectors.
.jpg%3FosCsid=fa7d80f2cb2e3a1146d7b3fefa54744b?h=g3WQWJn1rPRzhYq60ELcMQ)
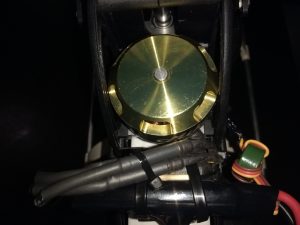
The motor and controller are mounted very close to each other which makes it hard to connect them with the stiff wires. I solved it this way, with one engine wire connected to the speed controller from the Vstabi so that the Hacker speedcontroller is NOT in a helicopter mode but in “normal-FAST” response mode. Screenshot of the settings will be added.
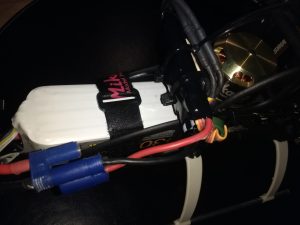
And now it was time to guide all the wires to the Vstabi controller etc. This is always very time consuming to do it GOOD and nice. Making sure that the wires don’t touch moving or rotating parts. I think looking at the result I did good again. The hardest part is where all the wires come together. I use a lot of tie-wraps in order the guide the servo wires the way I want them to go.
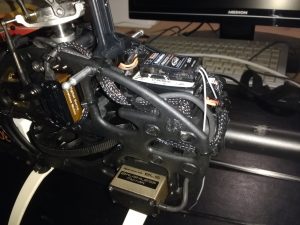
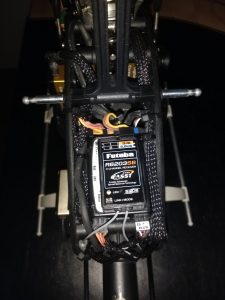
This this then the end result!
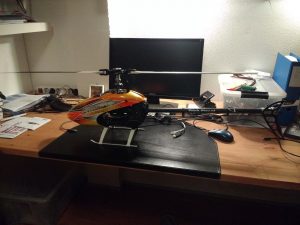
The Logo 400 is ready for SETUP, and TEST flight.
First flight with the rebuild logo 400 SE, after the salt water crash last summer. No vibrations! Yes ready to rock the sky!
Publié par Pitch-Play sur samedi 6 Janvier 2018

